Building A Raspberry Pi Arcade Machine
Posted on Oct 11th, 2017 in Raspberry Pi
I am starting to build a raspberry pi powered arcade machine. In this article, I will describe how I built a raspberry pi arcade console.
A couple of weeks ago I went to this barcade in Lansing Michigan. Being the huge nerd that I am, I decided that I wanted to play these games all the time.
The problem is, Arcade machines are expensive and I couldn’t get my hands on one that day. So I did the next best thing: I found a raspberry pi I had laying around and fished out an old USB XBoX controller I had laying around and so Yoseph’s Arcade™ was born.
In this article, I will walk you through the entire process from setting up your Raspberry Pi to transforming it into a relatively cheap retro console.
First up, the Hardware
Raspberry Pi
The most obvious piece of hardware I used was a raspberry pi. For those of you who don’t know what a Raspberry Pi is, it is a credit card sized machine priced at an affordable $35 dollars.

I used a Raspberry Pi 3 for this project, though this would probably work on a Raspberry Pi 2. I am not 100% sure about how a Raspberry Pi 1 would work, but I am deeply skeptical that it would work well. I have an RPi one set up at work to run Google’s timer and that is barely responsive. If you get this working on a Rpi 1, let me know! I would love to hear about it.
There are some differences between the RPi 3 and RPi 2 and RPi 1. The RPi 3 and 2 both use Microsd cards instead of the one’s Regular size SD card.

The RPi3 boast a 1.2 GHz 64 bit Arm Processor while the Raspberry Pi 2 has a 900 MHz processor and 32 bit architecture (RPi 2 version 1.2 does have a 64 bit processor) and the Raspberry Pi 1 has a 700 MHz processor and only 512 or 256 MB RAM.
However I think the most important details to consider here are the number of USB ports and the networking capabilities. The more USB ports the device has, the more people you can play with. The Pi 2 and Pi 3 both have 4 USB ports while the Pi 1 only has two ports. While the Pi 2 and Pi 3 both have 4 USB hubs, the Pi 2 only has ethernet built onto the board, so if you want Wifi, you are going to need to buy a USB wifi adapter. The Pi 3 has a wifi chip built into the board, making it a cinch to connect to wifi. In fact this is the primary reason I went with the three over the two.
If you need to buy a Raspberry Pi, I would checkout adafruit.com. I have bought many electronics from them and they are always reliable.
Here is a direct link to the Pi I used for my arcade.
SD Card
This piece of hardware isn’t really that important all though, it is still important enough to mention. The Raspberry Pi uses a Micro SD card (Only applicable to the Pi 2 and 3) to hold the OS and it boots from this! The SD card should be at least 4 GB, but if you go with a bigger card, you get to store more games. One thing to keep in mind is that according to this stack exchange post, there is a max supported size of 32 GB, although some people have gotten larger sizes working. If 32GB isn’t doing it for you, you can always use an external drive.
The SD card I used was this SD card I bought a while ago with NOOBS preloaded on it. To be honest, I don’t recommend this card for this application, because we are not going to be using NOOBS for anything, although it could be useful to make sure your Raspberry Pi boots correctly. You can buy a similar card for half the price, so I recommend that.
Controllers
This is the only major component that isn’t strictly needed; you can use a keyboard and mouse if you wanted to, but lets be honest, you need a controller for it to "feel" right . The only requirement is that it needs to be a USB device.
There are a bunch of USB controllers. Searching for USB controllers on Amazon returns more than 50,000 results. So which one is right? That is entirely upto you. The controllers that I use are some cheap controllers from GameStop. Those controllers are pretty cool and cost me about $15 each.
Miscellaneous
There are some additional hardware that you will need. If you already have a computer and a phone, then chances are you already have everything you need. You’ll need an HDMI cable for video and sound, USB mouse and keyboard for set up, a micro USB cable (the one that charges most android phones) and a 5.1V 2.5A power supply.
Now that you have all of the hardware, let’s take a look at the software!
Now the software!
The Operating System (AKA the OS)
For the OS, we will be using RetroPie. Make sure to go to this page and download the latest version of RetroPie. RetroPie is a great little OS that can emulate over 50 consoles and computers including NES, SNES, PS1 and PS2. Here is a full list of platforms it supports out of the box. It also is built with a media center kodi that will allow you to stream your own media to your TV.
Before moving on I wanted to touch on a few things. The Raspberry Pi Foundation recommends installing NOOBS and officially supports an OS called Rasbian, both of which can be downloaded here. NOOBS is definitely the easist way to set up a Raspberry Pi. However, for this, we aren’t going to us NOOBS because the operating system we need is not on there. (Note: NOOBSis not really an OS, it is really just an Operating system installer. If you are doing any other project, I recommend using NOOBS)
I should also mention that NOOBS does ship with an OS you can install called RecalBox, and if it doesn’t anymore, it is extremely easy to set up. I did try this OS before installing RetroPie, but I didn’t like it. RetroPie and RecalBox are very similar. They both are based on RetroArch and EmulationStation to provide the emulators, both have Kodi installed, and both provide online updates, rewinding, save states, and screenshots. Hell they even look the same!

However, RetroPie offers much more control over the system. You can change it’s splash screen, what version of Linux it runs (it runs Rasbian by default) and tinker with every single setting. I routinely SSH into my RetroPie to monkey around with stuff (not that I would recommend this, unless you know what you are doing). This may seem extremely overwhelming, but RetroPie provides excellent and extensive documentation, while RecalBox does not.
After you download RetroPie, you’ll need to unzip the fill using 7zip. You’ll be left the the img which is the actual OS.
A SD card writer
This is really a simple step to just set up the SD Card to install the OS. I used this program called Etcher to burn the iso to an SD card. If you really want to, you can use dd if your are running MacOS or Linux, although I won’t give any instruction on this because I can not remember the flags.
ROMs, ROMs, and more ROMs!
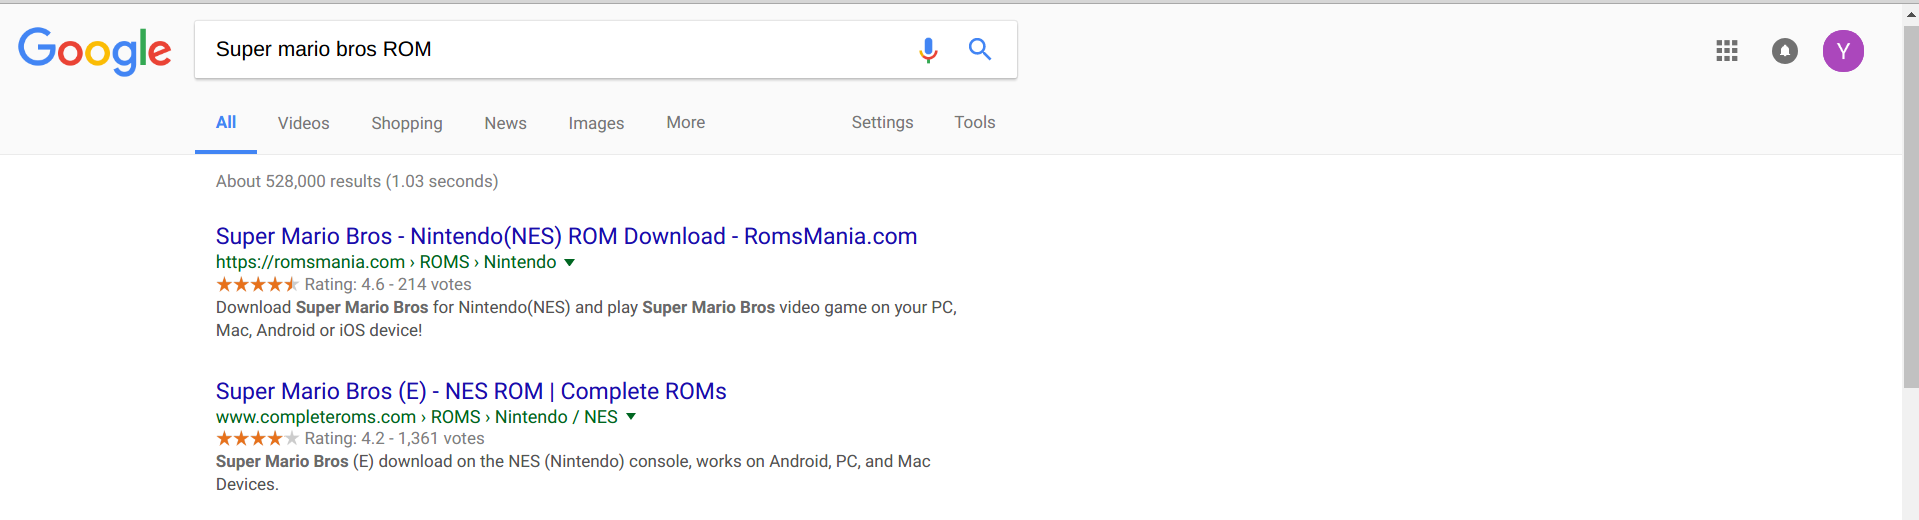
In order to actually play the games, you’ll need ROMs. Each game will have a ROM associated with it. However, I must point out that it is illegal to download the ROMs of games you don’t legally own. Finding the ROMs of games you legally own is really easy. You just google your game title and add ROM after it. If the game was added for multiple consoles, you may want to also specify which console you are looking for.
This step could be a bit sketchy, so just remember to exercise caution and not to run any of these programs on your actual machine unless you thoroughly inspect the file.
A program to transfer files to the Raspberry Pi
If you own a Mac or windows, you can use Finder or Explorer (respectively). On Linux, I just use good old SFTP and SSH to manage everything.
Now lets put everything together!
So now that all of the hardware has been gathered and all of the required software has been downloaded, we can actually begin building our Arcade!
The first step is to double check that the RetroPie file you downloaded earlier is a .img file. If the extension is .img you’re good to go. But if it is .7z or .zip you need to extract the file. I think RetroPie only allows you to download .7z files. To uncompress .7z files, you’ll need 7-zip (for windows) or the unarchiver if you’re using a Mac.
Now that you are absolutely sure that RetroPie is good to go, lets "burn" the image to the SD card. Burning the image is a process where the target disk (in this case your SD card) gets an exact copy of the .img file. The .img file itself is an "image" (think of it like taking a picture, the picture is frozen in time.) of what a hard drive of a device running the image would look like. You can’t simply copy the files to the SD card (unless you are using NOOBS or something similar) because it doesn’t make the card an exact copy of the image. Computers, and indeed the Raspberry Pi, need this exact copy so that it can find the code that allows it to boot properly. Burning with Etcher is an extremely easy process:
- Make sure that the SD card is completely free of junk. Download The SD card association’s memory card format if you are on Windows or Mac, or simply use gparted on linux. Set up the SD card as FAT and press go. Let it work on that and then move on.
- Next we fire up Etcher. It’s pretty easy to use Etcher. First you need to select the image you want to burn (which should be something like retropie-4.3-rpi2_rpi3.img. This will be different depending on the RetroPie version and which Raspberry Pi version you downloaded this for). Next you select the drive you want to burn the Image to (this is the SD card). Finally, just press Flash and wait for Etcher to do it’s magic! When Etcher says it has finished, make sure that you eject the disk before removing it, you don’t want to accidentally corrupt the card because then you’ll have to redo these steps.
After you are finished burning the image to the SD card, it is time to power up the Raspberry Pi! Firs what I would do is plug in the SD card. The SD card goes in the end opposite the USB ports. There is a little metal peice under the board that the card slides into with the pins facing the board.

Next, plug in the HDMI cable to both your TV and Raspberry Pi, and turn on your TV. Next plug in your controller and mouse and keyboard. Finally just plug in the Micro USB cord into the Pi and the USB into your 5.1V 2.5A power supply and plug it into the wall.
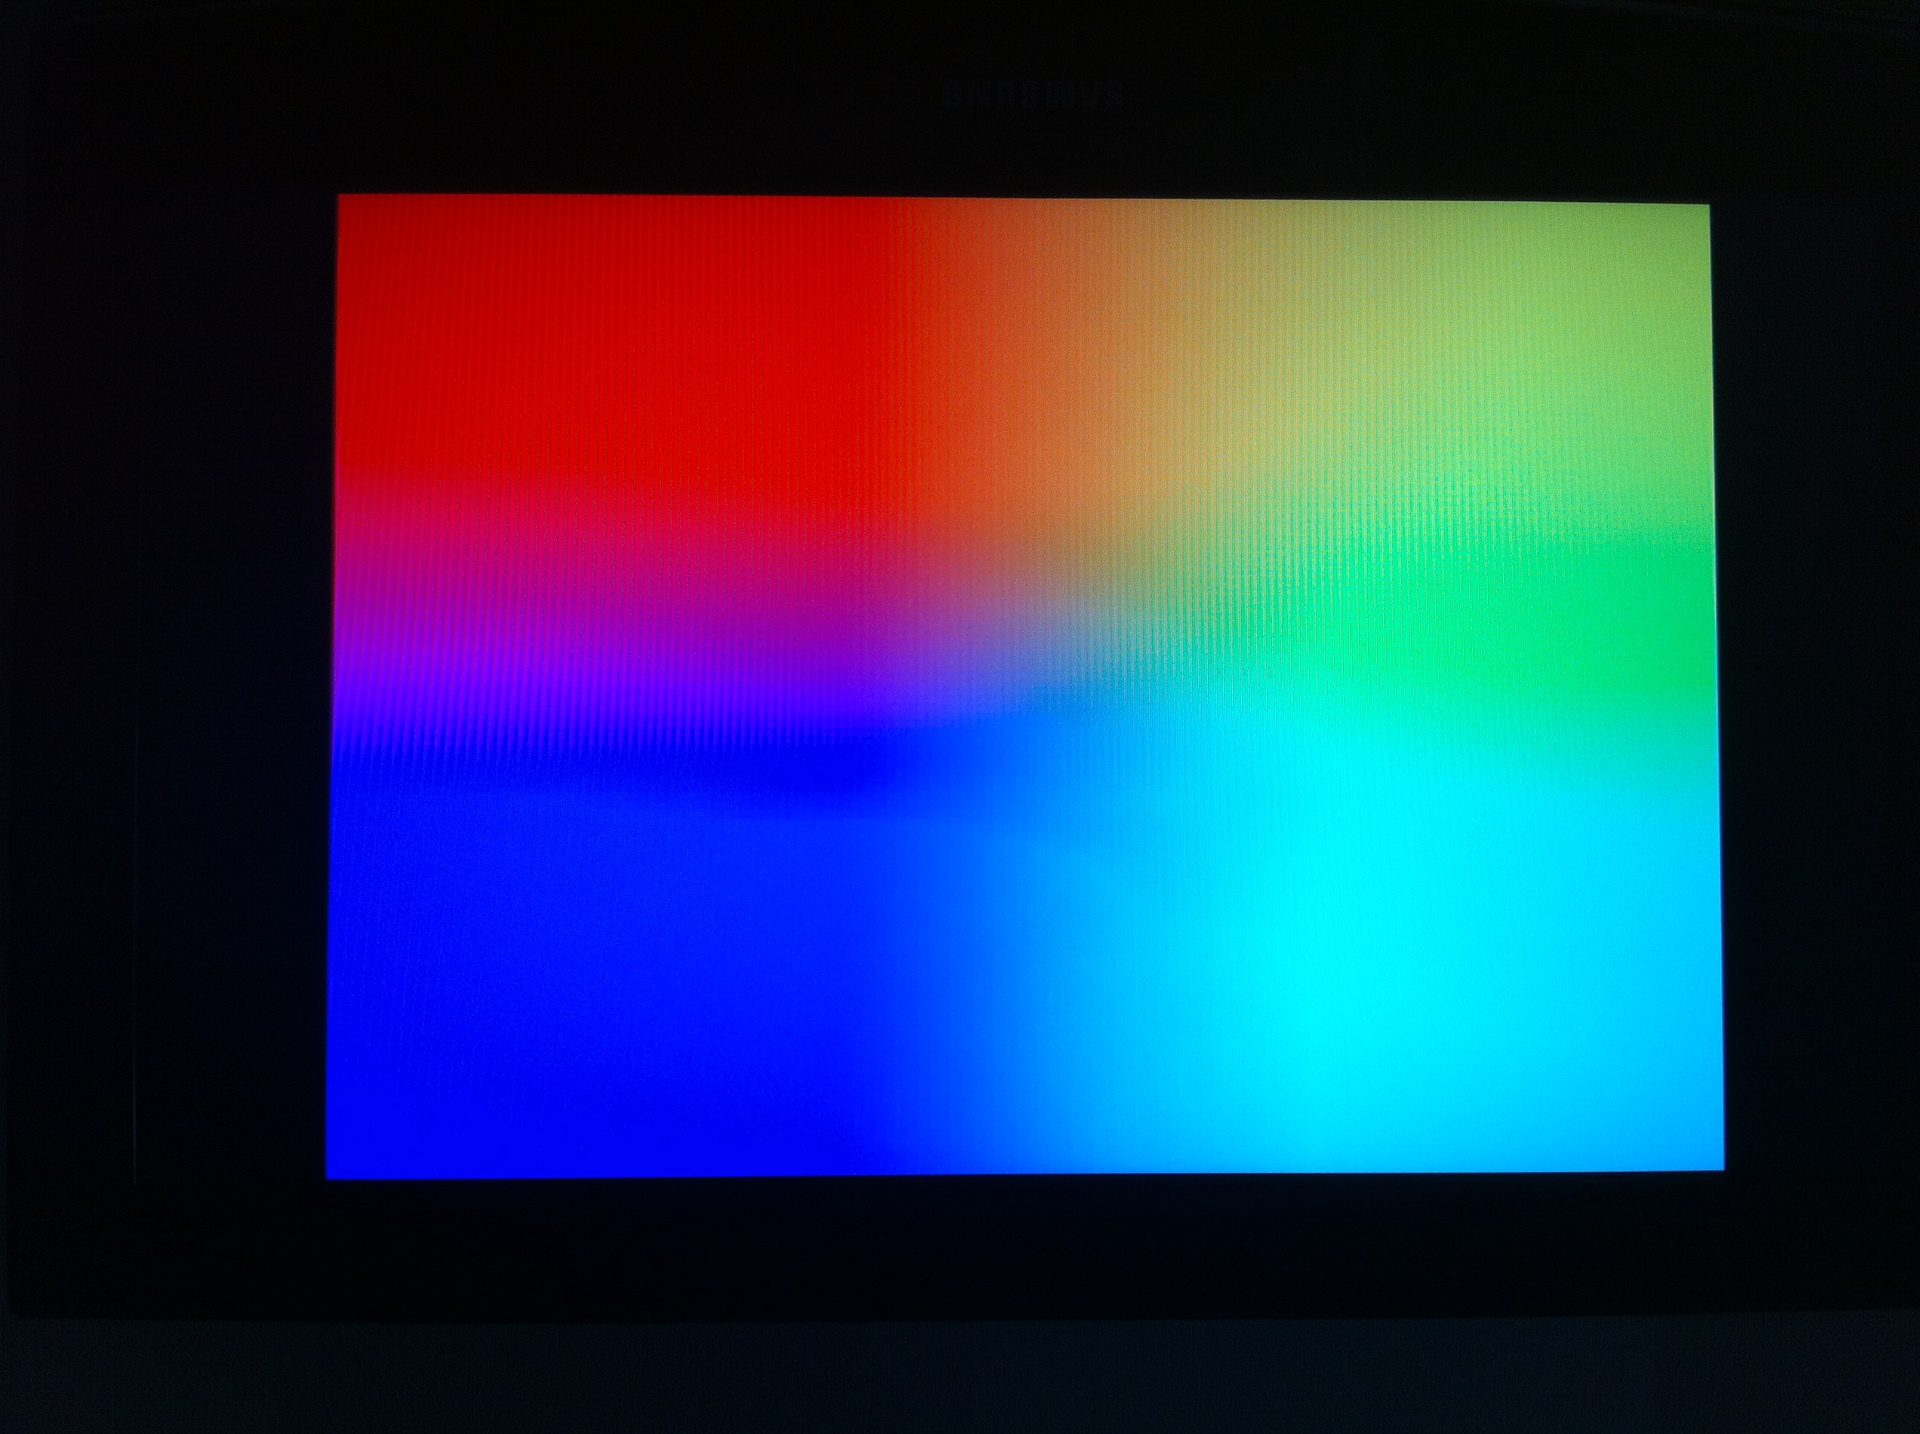
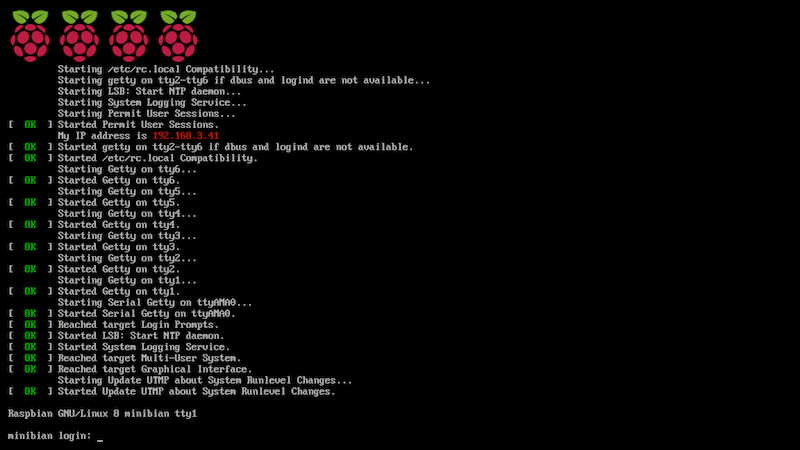
That screen will quickly be followed by a wall of scrolling text. Don’t fear! That is the actual Operating System booting up.
Finally, when that is done, you’ll see the splash screen of RetroPie and then finally nothing but a RetroPie entry in some sort of menu. On initial boot, RetroPie will detect your controller and ask you to configure it.

Press any button to continue. RetroPie will ask you to press the buttons on the controller so that it can recognize this. If you mess up, you can always come back and reconfigure if you want to. You can also use the mouse and keyboard to navigate, all though RetroPie will automatically go to the next entry.
With your controller in hand, simply select the RetroPie option (at this point it should be the only entry on the screen) and you should see this screen:

Select configure Wifi. The next screen to be brought up isn’t exactly the prettiest, but it gets the job done.

Go ahead and select your WiFi and enter your password using the keyboard.
With that done, you are now officially ready to start playing some games!
Now there are several ways to get games to the RetroPie, from using a USB drive, to manually using a USB drive. The method I am going to focus on is using Samba.
Samba is a program that allows you to access a computer’s files over a network. To access your RetroPie’s Samba Shares
open up Explorer on Windows or Finder on MacOSX. In Explorer, in the address bar at the top, type \\RETROPIE and in Finder, click on Go -> Connect to Server then type in smb://retropie and hit connect. If you are prompted for a password, it will be raspberry unless you changed it. I don’t think RetroPie actually puts a password on Samba.
If you did that correctly, you should be connected and see a few directories.

Now in the ROMs directory, there are several other directories. These directories correspond to the systems the ROMs inside can emulate. For example the nes/ directory is for NES games, the snes/ directory is for SNES games, so on and so forth. Just put your ROM in the right folder, reboot the Pi, and you should be good to go!
Note about MAME games:
MAME is an emulator that emulates many arcade machines. This is what you want to use if want to play Donkey Kong, Ms. Pac Man, Galaga, etc. (But only if you own it, right?) However, MAME has different ROM sets and not every single game is supported through this system. RetroPie recommends using lr-mame2003 and lr-fbalpha but also has these MAME emulators. Most of my MAME games are using lr-mame2003, So I know those work.
One thing to make sure of is that you absolutely, positively put the ROMs in the right directory. For any of my MAME games to work, I have to put them in the MAME directory which has a bunch of other directories (cfg/ is the first one I can think of). These directories are important because these are what emulates the machine so that the ROM runs correctly. You should also be able to put them in the arcade/ directory which has sub directories like lr-mame2003/ which has the proper directories to run the ROMs. If that still doesn’t work, try to configure it to run a different emulator when you run the ROM. If that still doesn’t work, move the ROM around until it works.
There is also this list of compatable ROMS
The wrap up
That is really all there is to it! You’re now ready to play some retro games, but there may be somethings you may want to change, for a total price of $73:
- Raspberry Pi: $35
- 2 controllers: $30 ($15 each)
- 16 GB SD card: $8
Compared to a similar console that is $180.55 at walmart, I’d say it is a good deal 🙂
I think the the only thing I changed, was that I made it so that the Joy Stick acted as the D-Pad. I did this because some games, like Ms. Pac Man, is a bit hard to play with the D-Pad. To do this, just go to the config screen and select RetroArch configuration, then select settings -> Input -> Input User Binds 1 then look for the option that says Analog D-pad mode user the D-Pad to select whether you want the left or right analog stick to be mimick the D-Pad. Then go back to the initial screen, then go to configuration and make sure you save this change. Then go back to RetroPie and you’ll be able to use your analog stick as a D-pad making arcade games much easier!
Going forward
Going forward, I think I’m slowly going to build out an Arcade Cabinet. I say slowly because, A) I don’t have the tools to build it (but my girlfriend’s father does), and B) my girlfriend isn’t that thrilled about having an Arcade cabinet in our apartment.
This weekend, I am going to build a control panel to mimic an Arcade Cabinet’s controls for two players. I’ll write a blog post on that next week. After that, I am going to try to salvage a screen somewhere that mimics an arcade screen but not a real one because those are expensive.
If you have any questions, or have any feedback, drop a comment below or shout me an email. Thanks!